
Body Area
Upper-Back Stretches for Desk Tension
Try upper-back stretches that combine reaching, rotation, and chest opening after long periods of sitting.
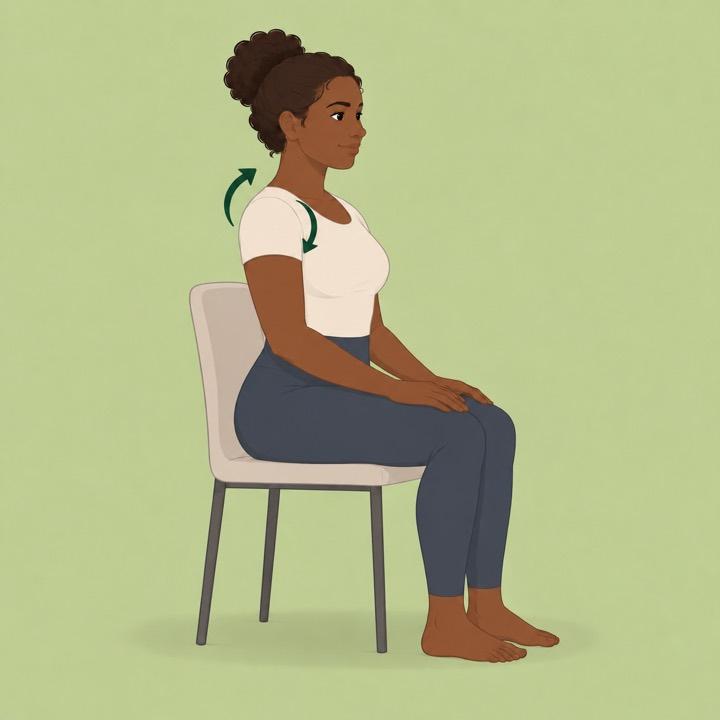
Try upper-back stretches that combine reaching, rotation, and chest opening after long periods of sitting. It is designed for tension between and around the shoulder blades, with a clear goal: move the upper back while keeping the neck relaxed.
Quick answer
A useful starting point is 8 minutes at an easy intensity. Move into each position until you notice mild tension, keep breathing, and leave the pose if the sensation becomes sharp, numb, or painful. You do not need to reach a particular shape for the stretch to count.
At a glance
- Time: about 8 minutes
- Equipment: none; a chair, wall, or cushion is optional
- Intensity: gentle to moderate
- Best for: tension between and around the shoulder blades
- Main idea: move the upper back while keeping the neck relaxed
Why this routine fits tension between and around the shoulder blades
A useful routine is more than a list of poses. The order should match the moment. Here, the sequence begins with an easy orientation movement, shifts toward the areas most likely to need attention, and finishes with a position that makes it natural to slow down. That structure supports the real goal: move the upper back while keeping the neck relaxed.
The pose illustrations below are landmarks rather than targets. Bodies have different proportions and histories, so your version may look different. Use a wall, chair, or cushion whenever support lets you breathe and pay attention more easily.
A 8-minute sequence to try
Use this as a flexible outline rather than a performance test. Spend roughly 60 seconds exploring each movement, including both sides when relevant, and shorten any position that feels less useful today.
1. Shoulder rolls seated
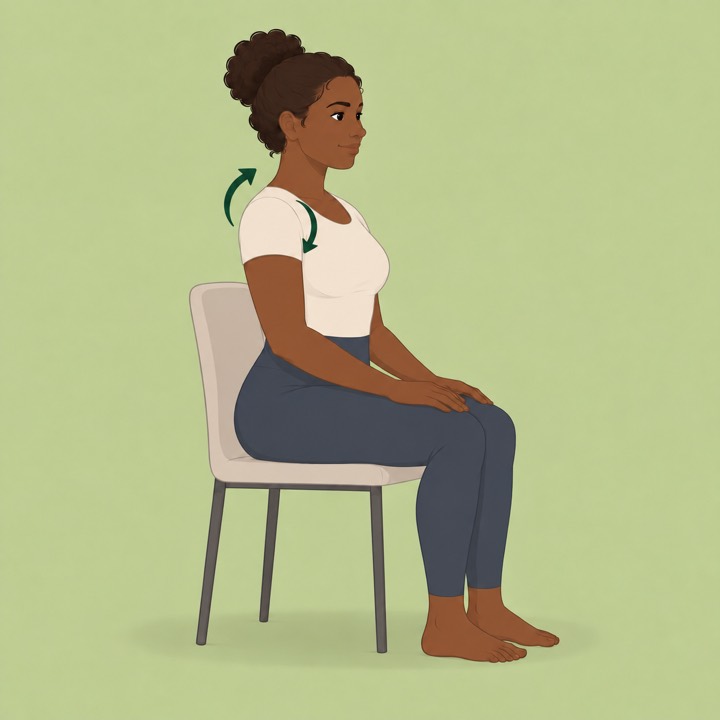
Why it appears here: This movement gives the sequence a seated option that brings attention to shoulders, upper back. It adds a different direction or level from the movement before it, which helps the routine feel rounded rather than repetitive.
How to approach it: Choose a stable chair or comfortable seat. Let the chair carry your weight, then explore the movement without pulling yourself deeper with your hands.
Suggested time: about 60 seconds. Leave sooner if the position stops feeling calm or controlled.
2. Hug pose seated
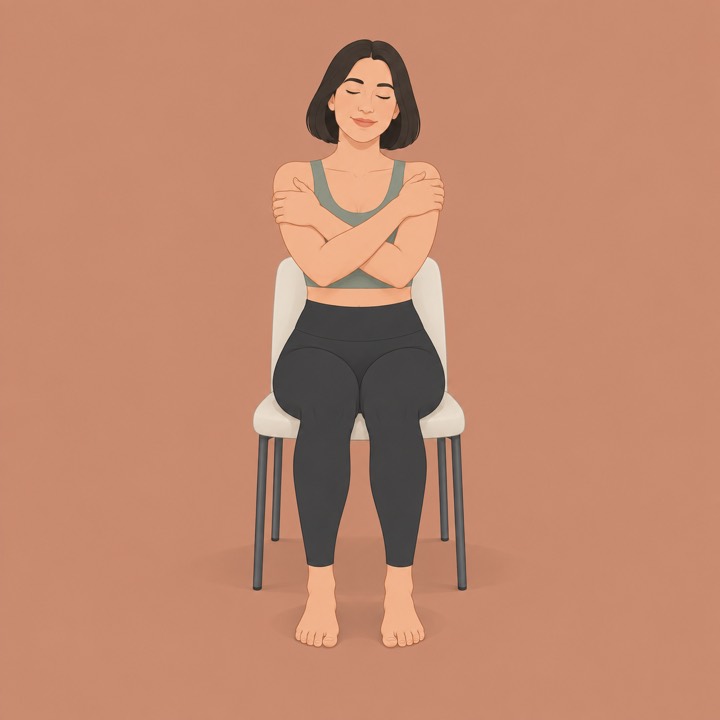
Why it appears here: This movement gives the sequence a seated option that brings attention to upper back, relaxation. It adds a different direction or level from the movement before it, which helps the routine feel rounded rather than repetitive.
How to approach it: Choose a stable chair or comfortable seat. Let the chair carry your weight, then explore the movement without pulling yourself deeper with your hands.
Suggested time: about 60 seconds. Leave sooner if the position stops feeling calm or controlled.
3. Overhead reach seated
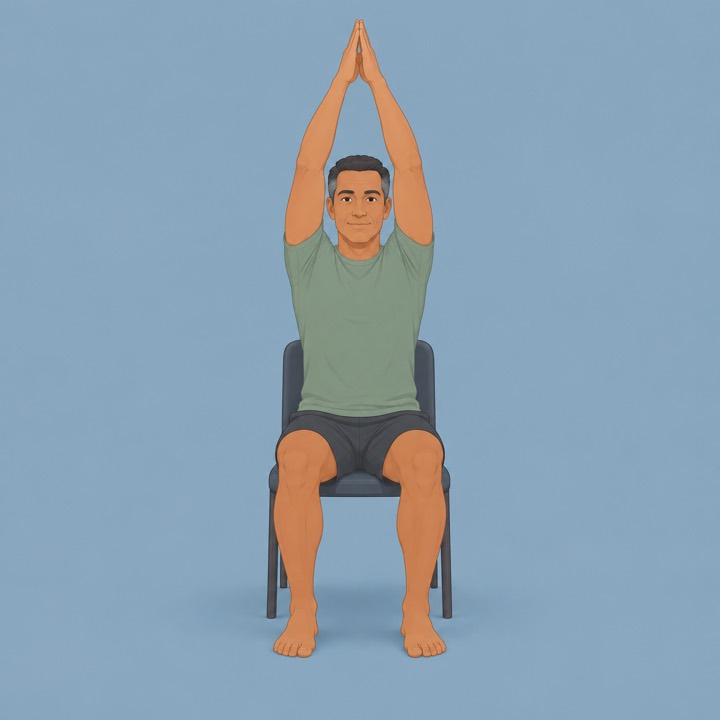
Why it appears here: This movement gives the sequence a seated option that brings attention to shoulders, sides. It adds a different direction or level from the movement before it, which helps the routine feel rounded rather than repetitive.
How to approach it: Choose a stable chair or comfortable seat. Let the chair carry your weight, then explore the movement without pulling yourself deeper with your hands.
Suggested time: about 60 seconds. Leave sooner if the position stops feeling calm or controlled.
4. Cactus Arms seated
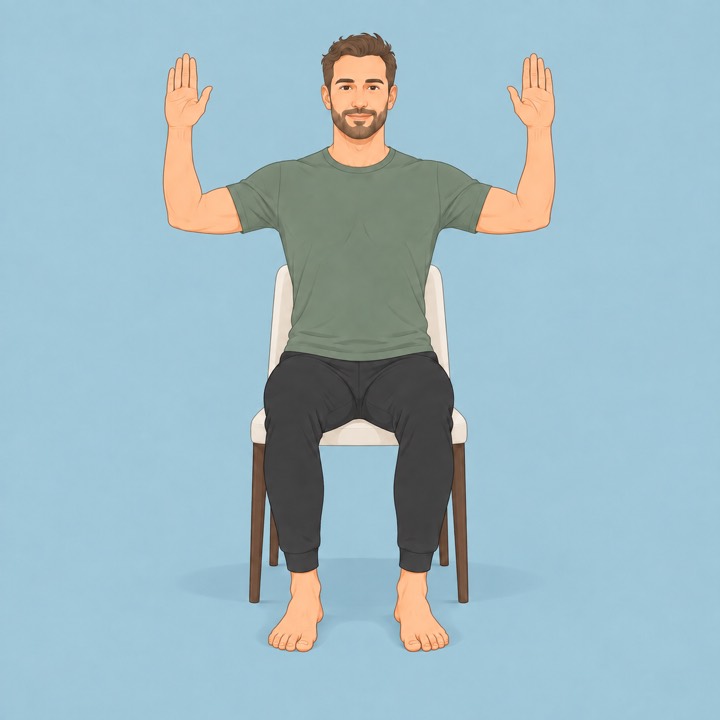
Why it appears here: This movement gives the sequence a seated option that brings attention to chest, shoulders, upper back. It adds a different direction or level from the movement before it, which helps the routine feel rounded rather than repetitive.
How to approach it: Choose a stable chair or comfortable seat. Let the chair carry your weight, then explore the movement without pulling yourself deeper with your hands.
Suggested time: about 60 seconds. Leave sooner if the position stops feeling calm or controlled.
5. Trunk rotation
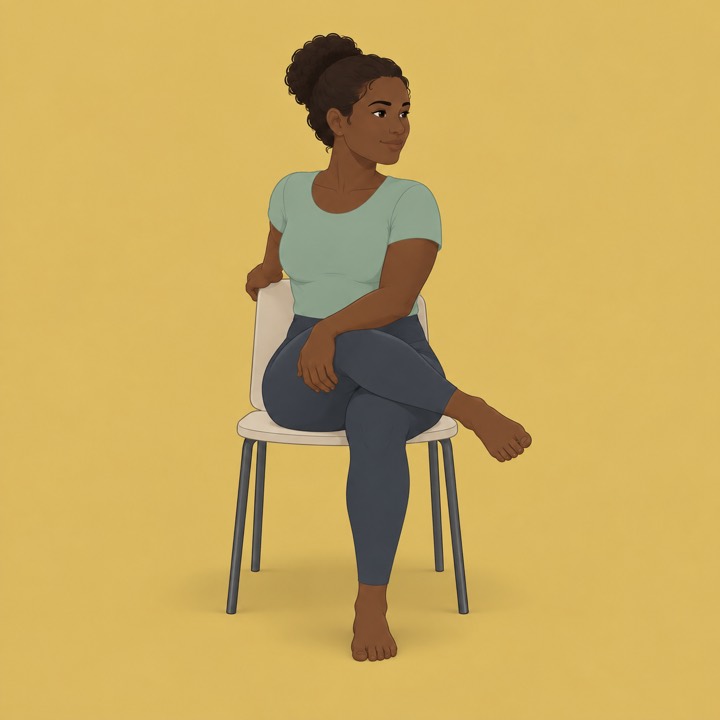
Why it appears here: This movement gives the sequence a seated option that brings attention to back, hips, sides. It adds a different direction or level from the movement before it, which helps the routine feel rounded rather than repetitive.
How to approach it: Choose a stable chair or comfortable seat. Let the chair carry your weight, then explore the movement without pulling yourself deeper with your hands.
Suggested time: about 60 seconds total, shared between both sides. Leave sooner if the position stops feeling calm or controlled.
How to get more from the routine
Keep the session specific to its purpose: move the upper back while keeping the neck relaxed. Begin with the easiest version you can repeat. A smaller range with steady breathing is usually more useful than a deeper position that makes you brace, hold your breath, or lose balance.
Progress one variable at a time. You might add one session per week, hold a comfortable pose slightly longer, or explore a little more range. Avoid increasing duration, intensity, and frequency all at once. That makes it easier to notice what actually helps.
Common mistakes to avoid
- Bouncing or using momentum to force a larger range.
- Treating pain as proof that a stretch is working.
- Holding your breath or tightening your jaw and shoulders.
- Comparing your position with an illustration instead of responding to your body.
- Using stretching as a substitute for medical care when symptoms are severe, persistent, or unexplained.
Safety and comfort
Stretching should create mild, tolerable tension rather than pain. Stop with sharp pain, tingling, numbness, dizziness, loss of strength, or symptoms that travel into an arm or leg. If you are recovering from an injury, surgery, pregnancy-related concern, or a condition that affects balance or joints, ask a qualified clinician which movements fit you.
Because this guide cannot account for your medical history, treat it as general movement education. A clinician or physical therapist can help adapt stretching around an injury, surgery, neurological symptoms, joint instability, or persistent pain.
Frequently asked questions
Is this guide suitable for beginners?
Yes, if you use a comfortable range, move slowly, and choose the easier modification for each exercise. Skip any movement that causes pain or does not fit your health needs.
How often can I use this 8-minute routine?
You can use it whenever it feels helpful and comfortable. Start with two or three sessions a week, then adjust the frequency based on your schedule, activities, and how your body responds.
Do I need to warm up first?
For a quiet flexibility session, begin with easy movement and gradually increase the range. Before vigorous exercise, use an activity-specific warm-up with dynamic movement rather than relying on long, passive holds alone.
Sources and further reading
- Flexibility exercise and stretching — American Heart Association
- Flexibility exercises — NHS
- Physical Activity Guidelines for Americans — U.S. Office of Disease Prevention and Health Promotion
What to do next
Choose another guide from the Stretchlet stretching blog, explore a ready-made stretching routine, or use the Stretchlet app to build a session around your available time and preferences.